IMDL
Intelligent Machine Design Lab
In this course, we learned how to build a robot.
- Learn sensors(Datasheet) and code with Microchip(C Language).
- Mechanical Design for specific parts of a robot.
- Integrate Hardware, Firmware and high-level Software.
From IMDL1, we focused on learning sensors with circuit and controlling DC motor.
IR sensor(CNY70, LTH301), Memory(MCP4151-SPI), Motor(FIT0403)
IMDL1 - Project
From IMDL1 slides
- Use sensors, motors, and 3D parts with SAME54 Xplained Pro development board to build mobile platform.
- High-level board(Intel UP Squared) commumnicate with SAME54 Xplained Pro with sensors’ data.
- IR Localization to use a method.
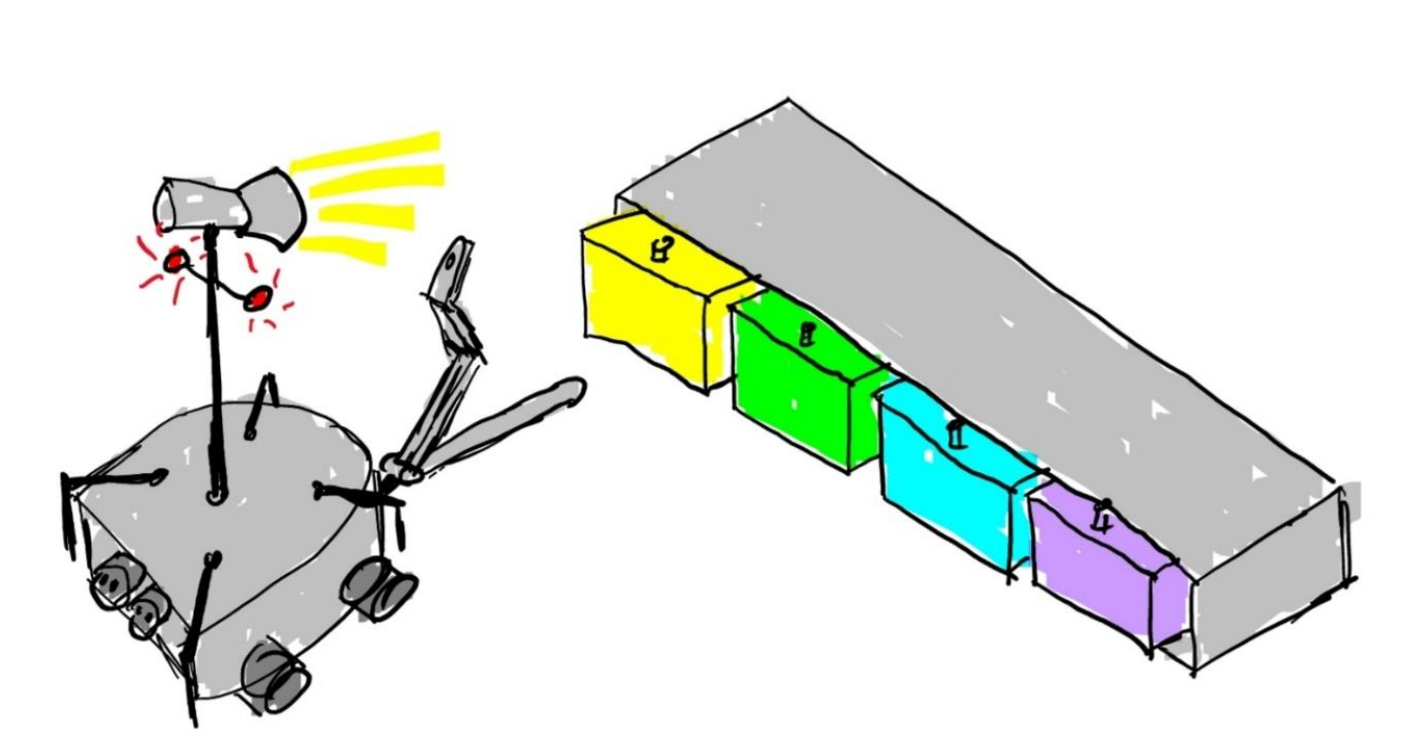
- Use gripper to pick up and down an object.
- Drive to target point with collision avoidance(Ultrasonic sensors).
stateDiagram
[*] --> IDLE
IDLE --> Localization: Command
Localization --> IDLE: IR_sensor
IDLE --> Moving: Target_Position
Moving --> Obstacles: Sonar_sensor
Obstacles --> Moving: Change_Path
Moving --> IDLE
IDLE --> Pick_up: Command
Pick_up --> IDLE
IDLE --> Drop_off: Command
Drop_off --> [*]
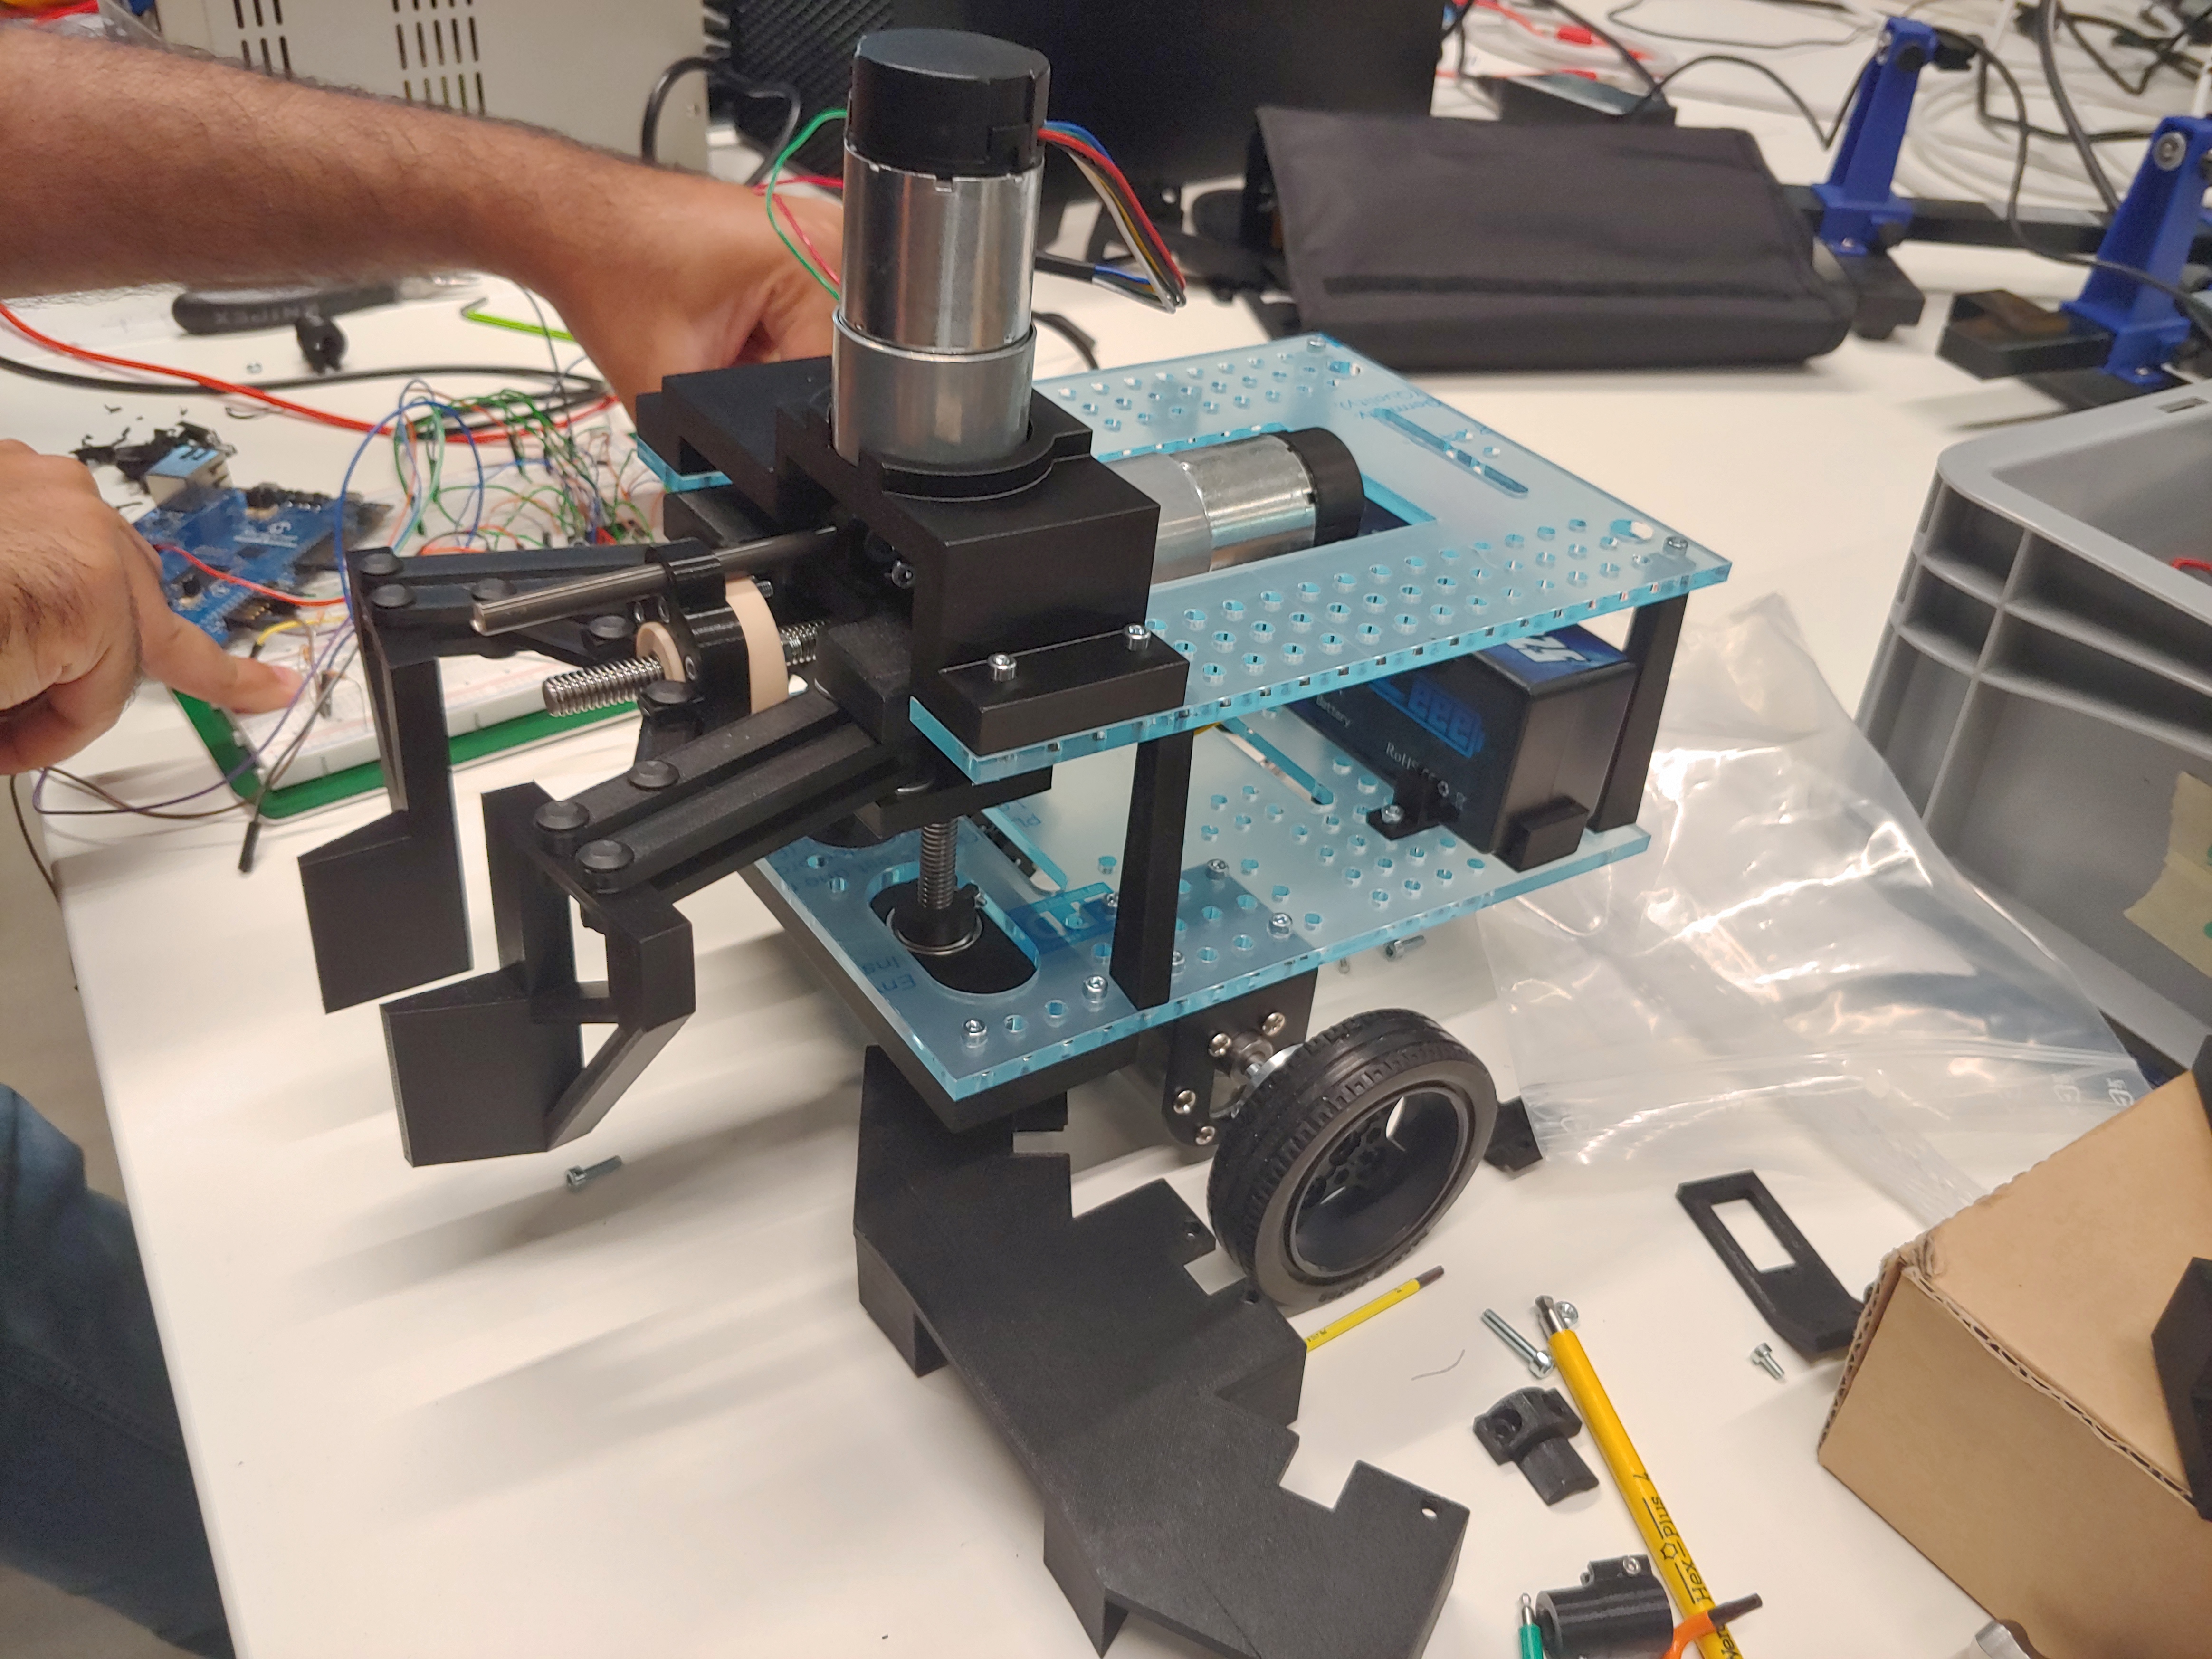
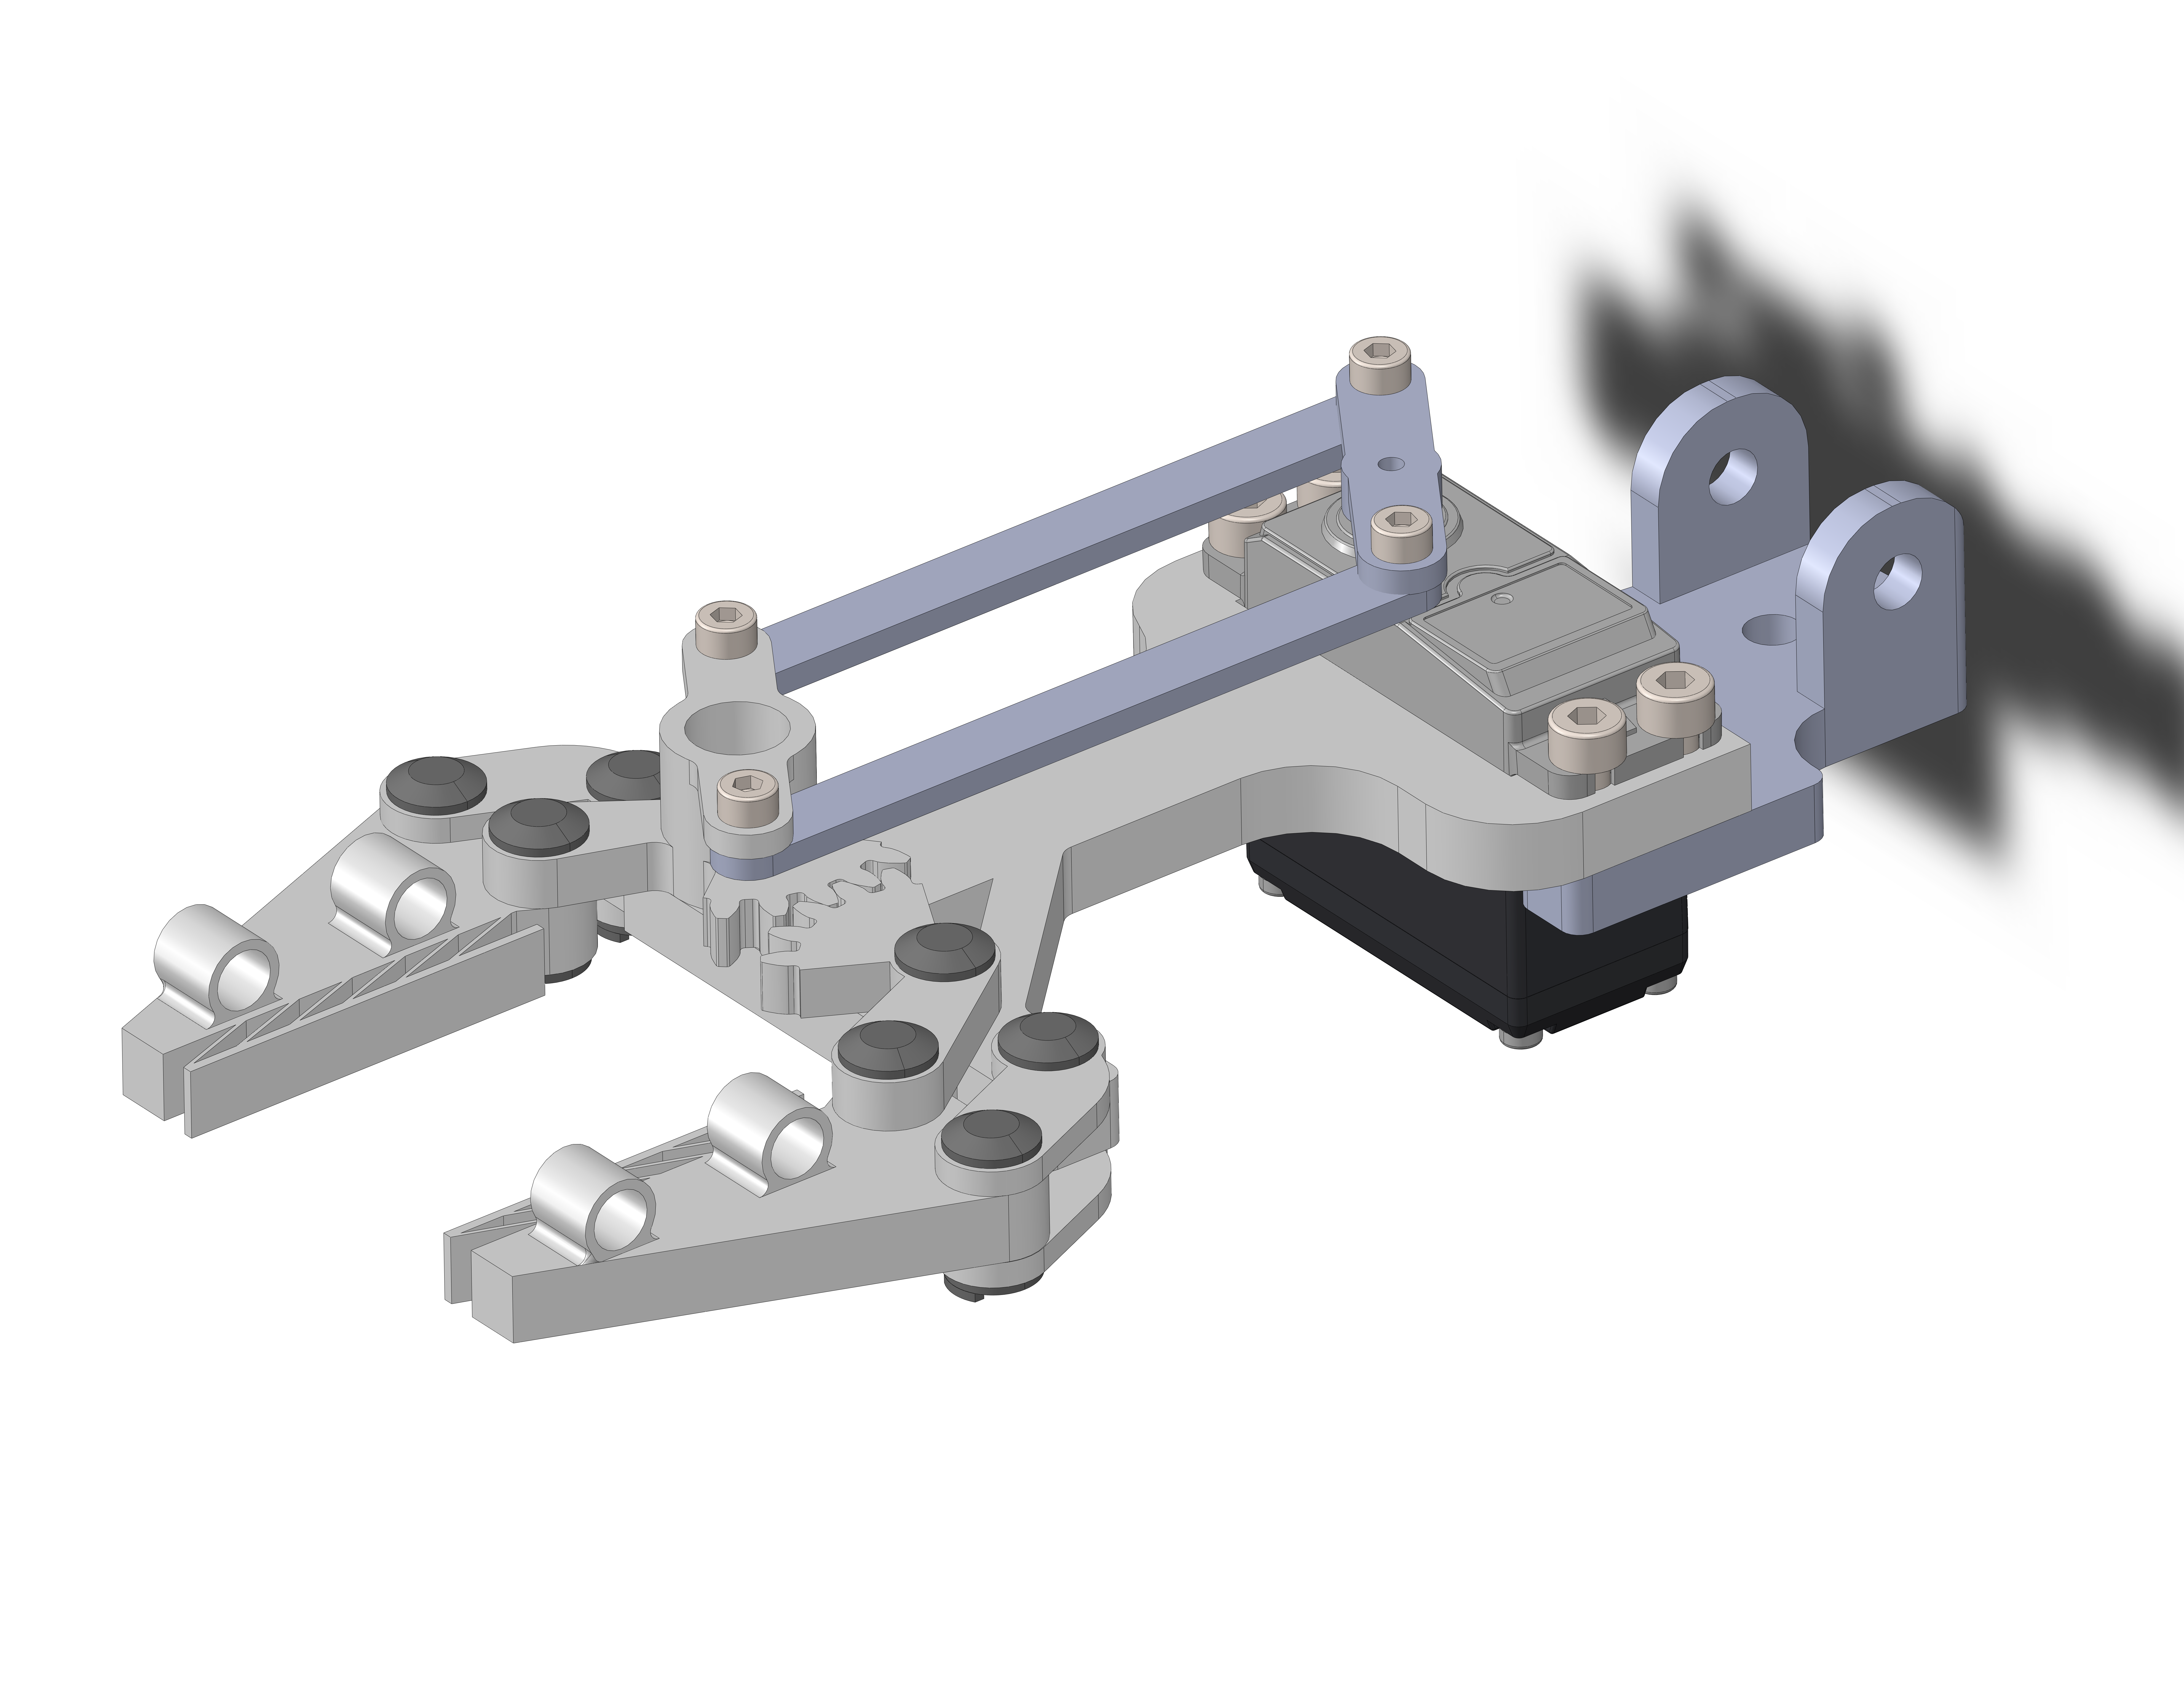
Design a gripper for a mobile robot
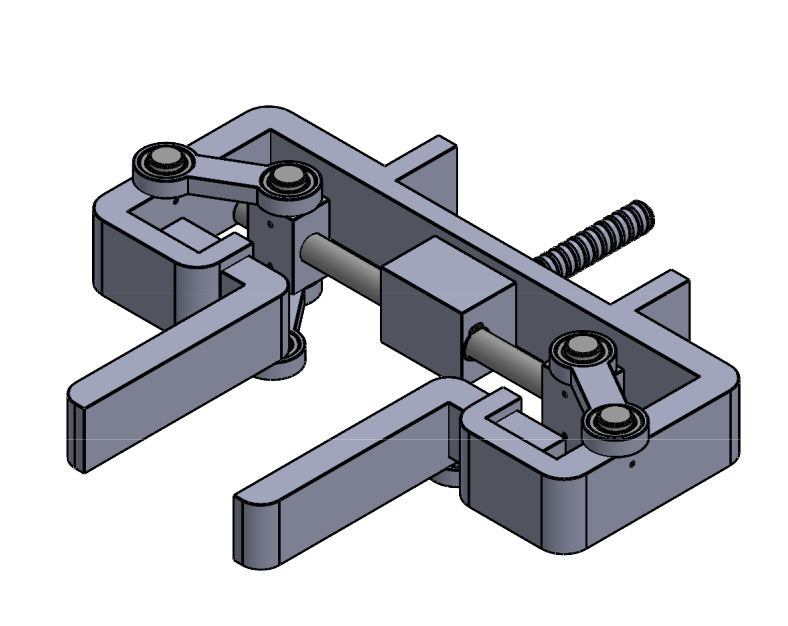
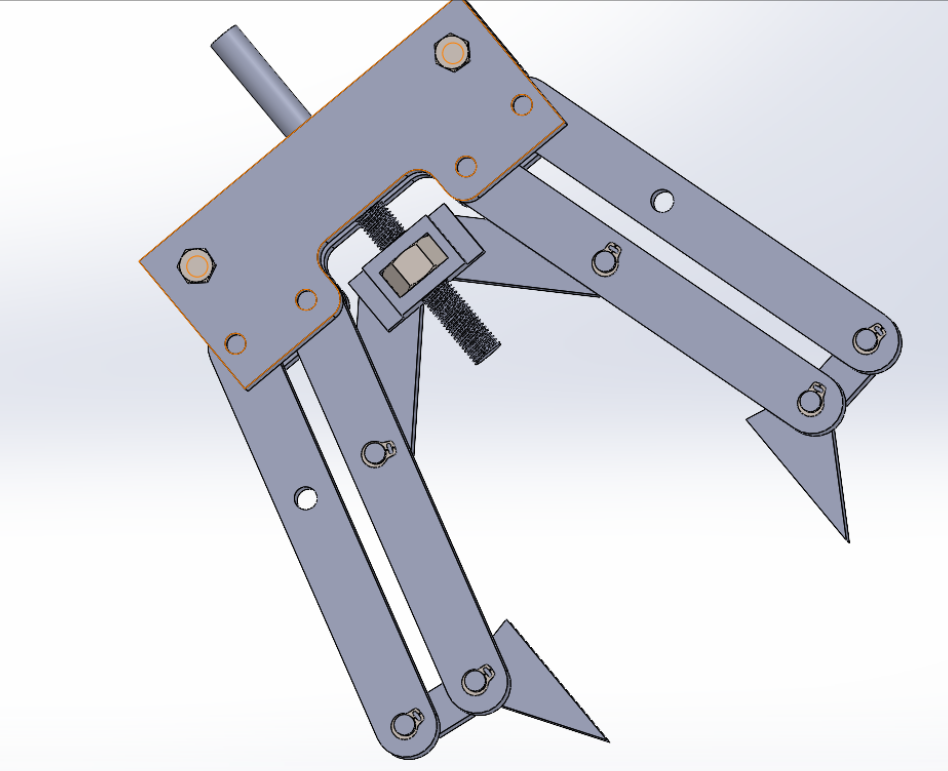
Gripper and Robot

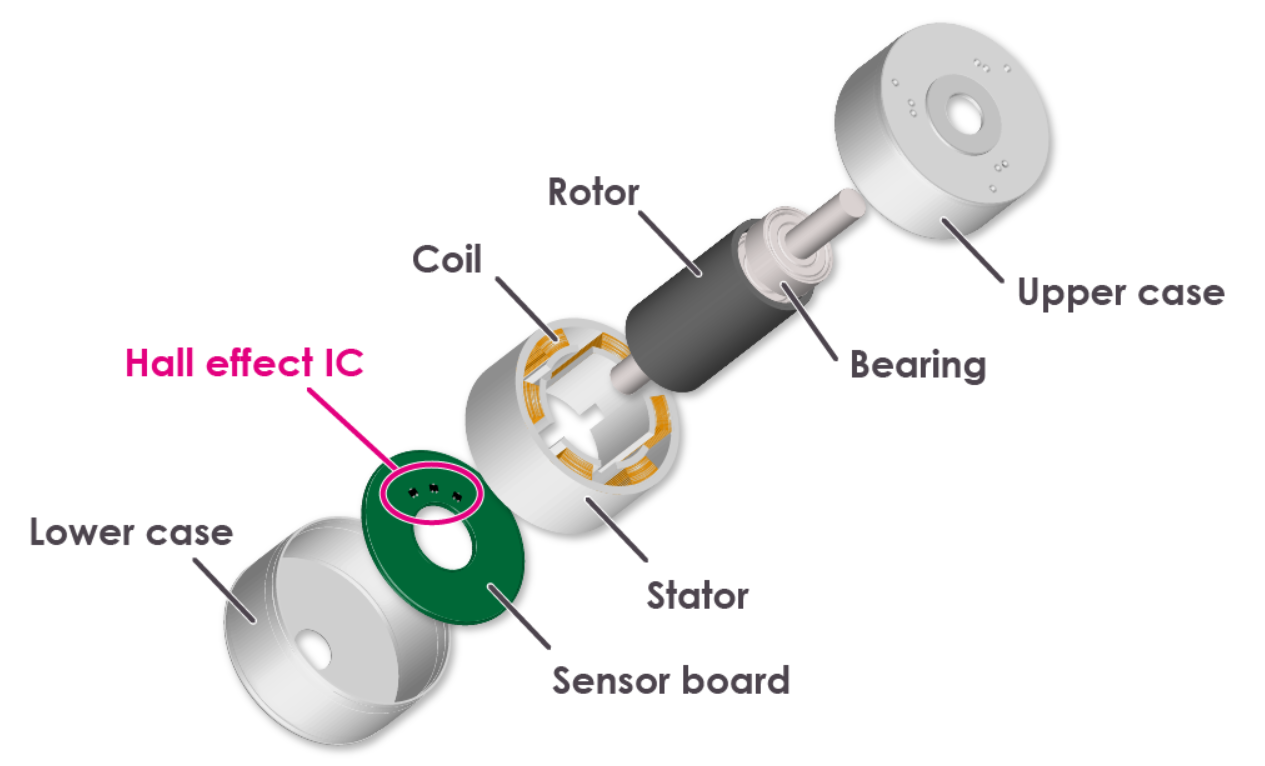
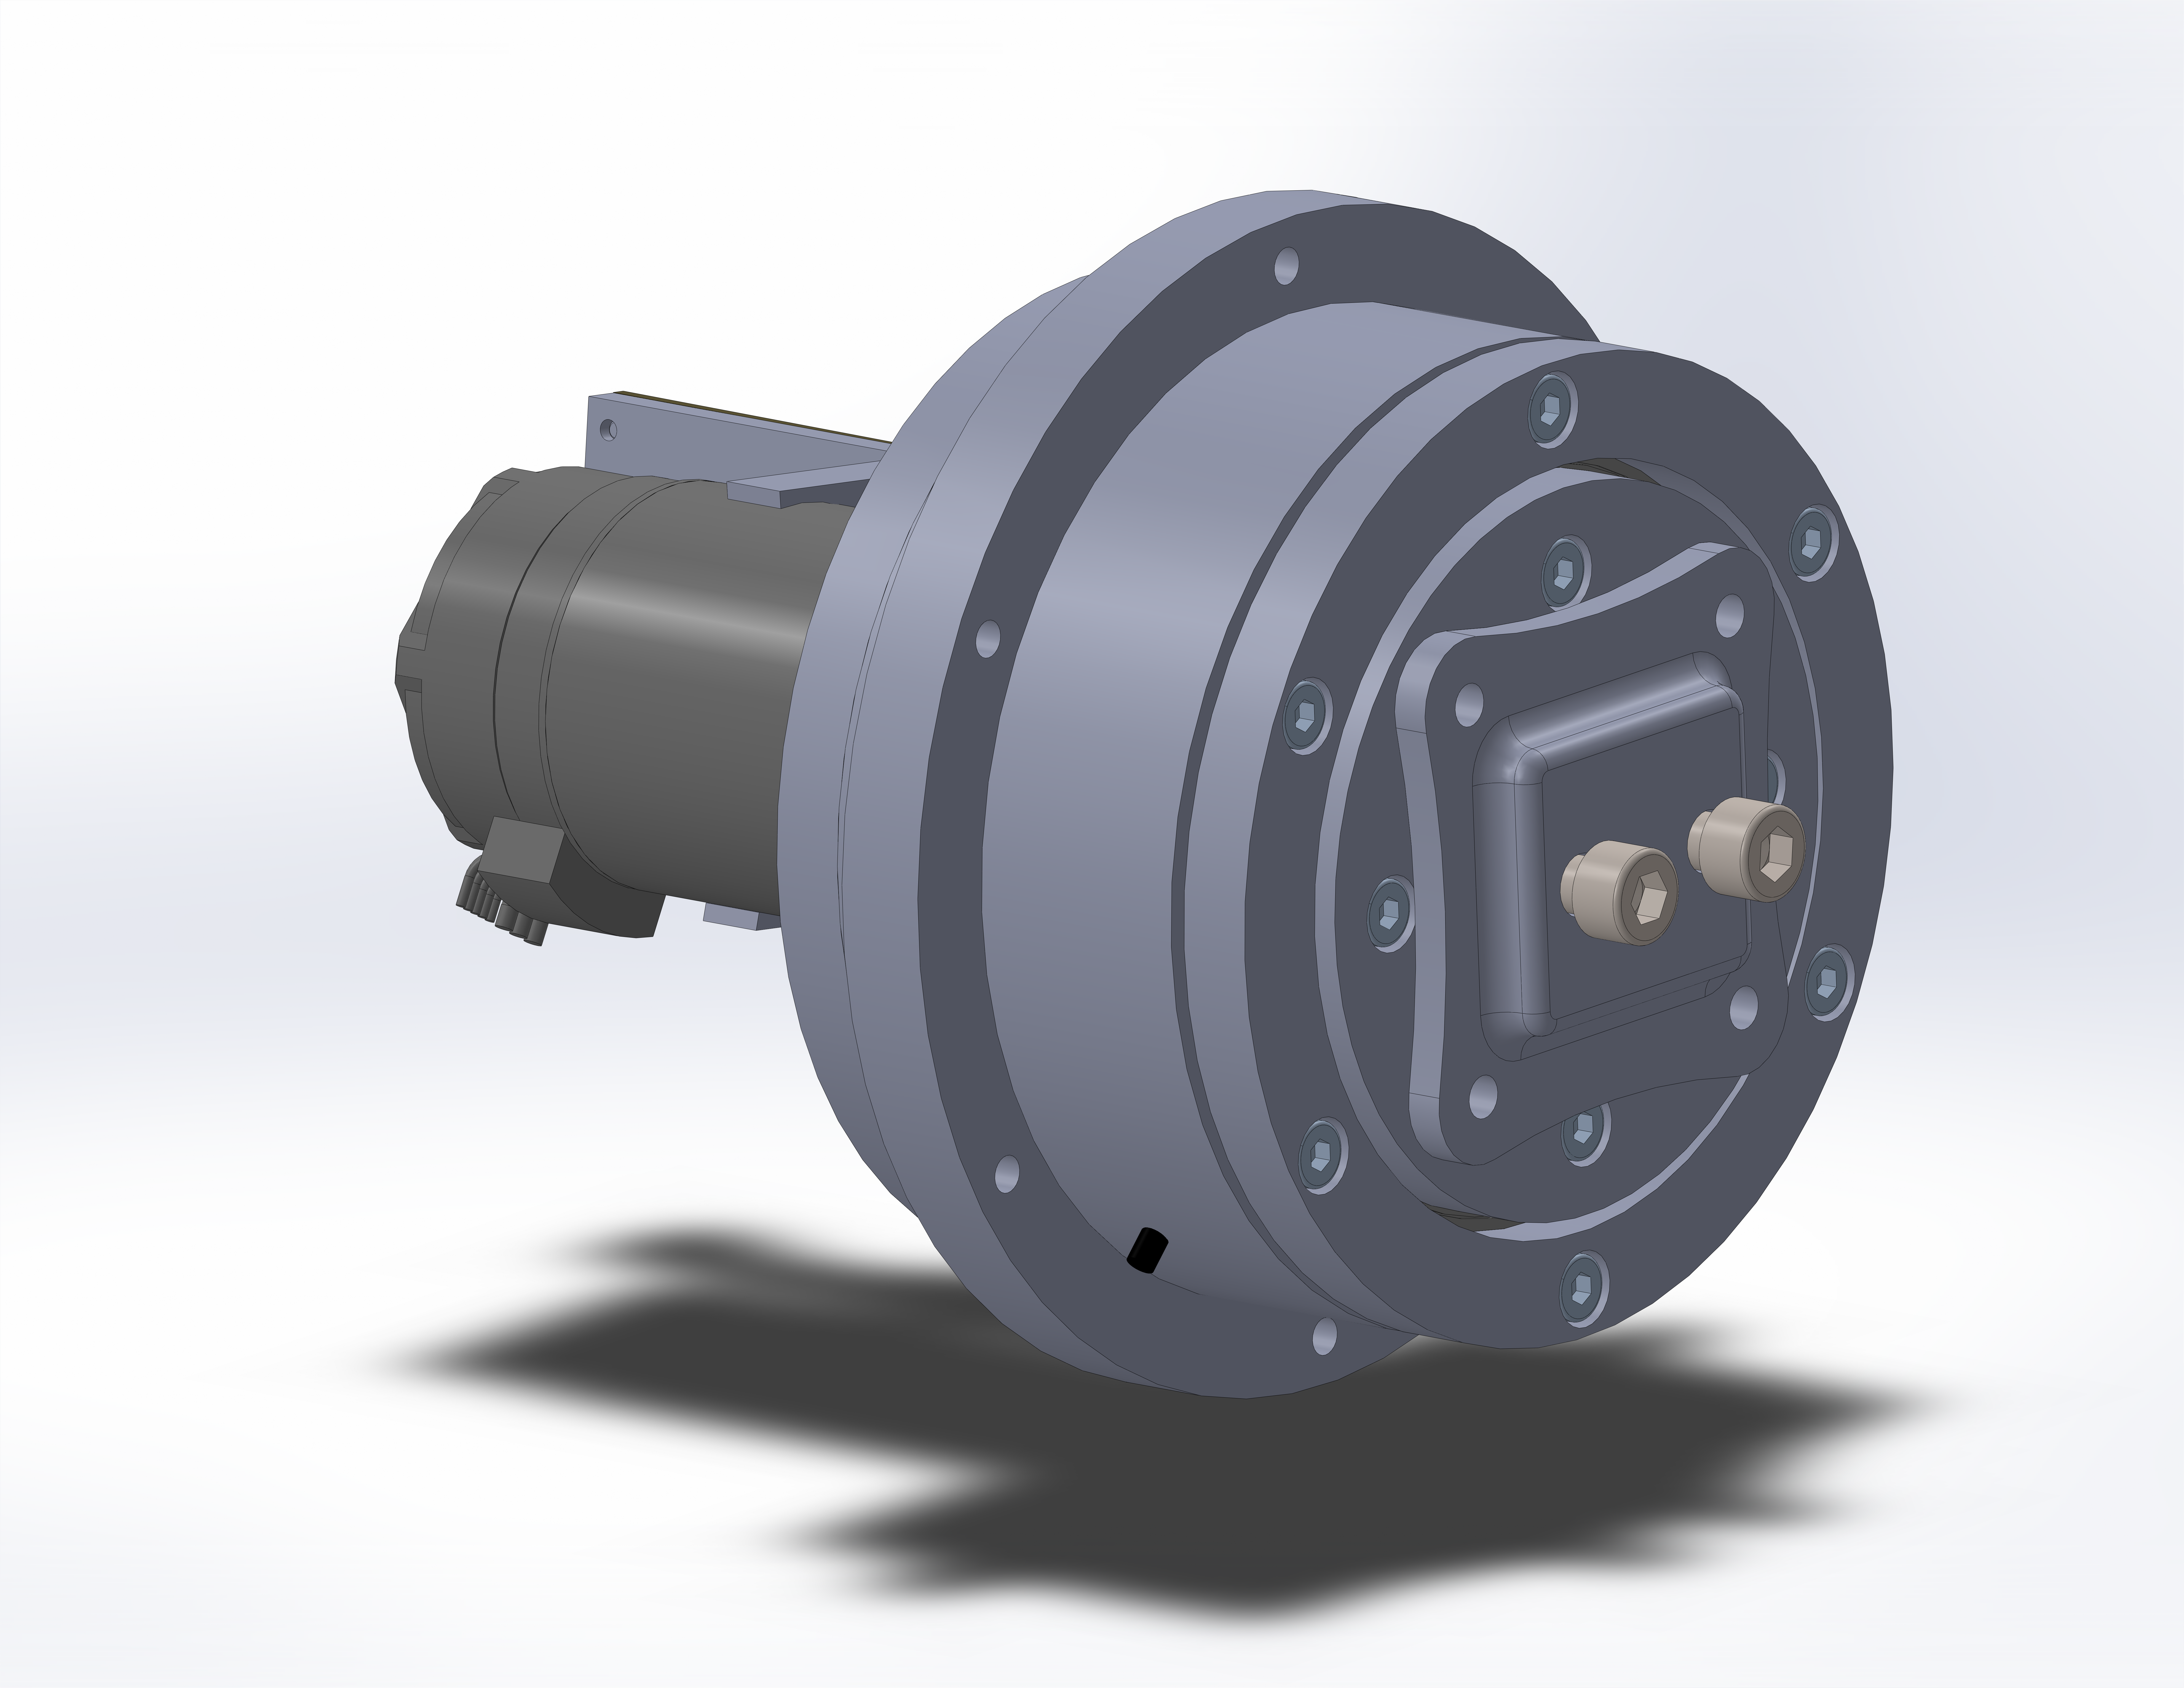
From IMDL2, we focused on learning BLDC with hall sensors, EtherCAT, and PCB Design.
BLDC with hall sensors
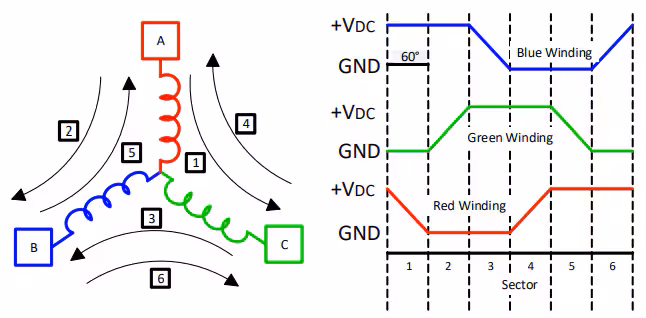
Using above logic, design firmware for BLDC controller. We designed also firmware from understanding CAN bus for EtherCAT using LAN9252.
IMDL2 - Project
From IMDL2 slides
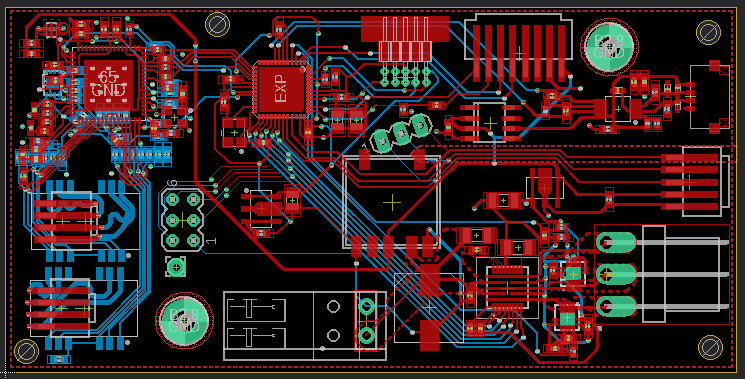
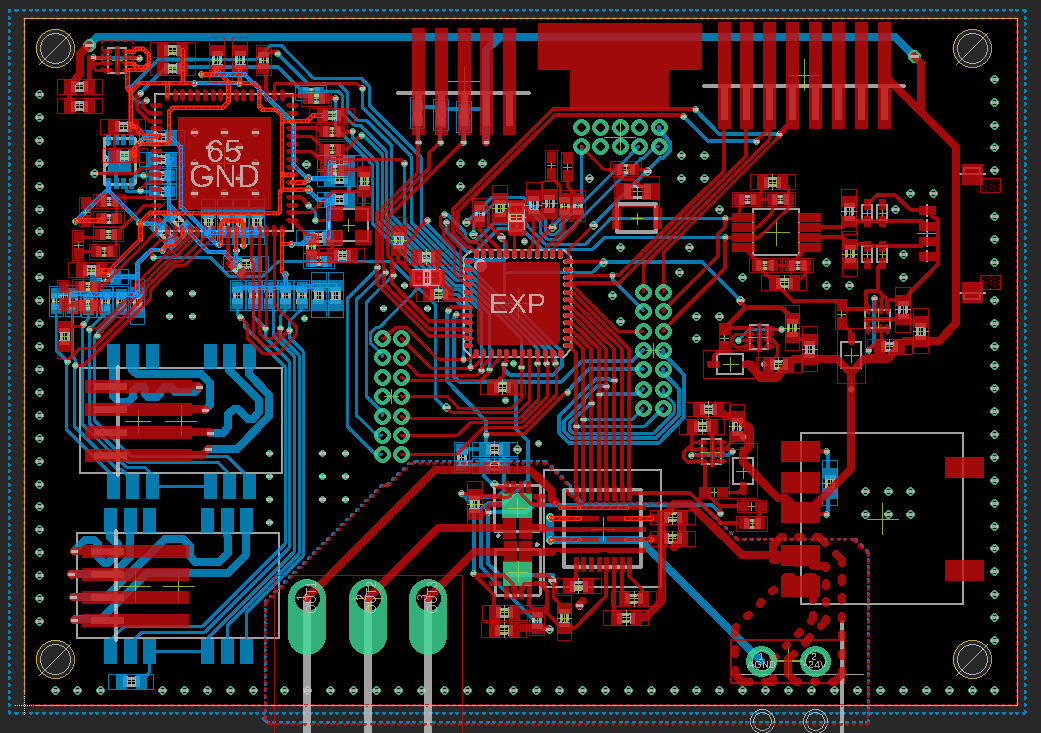
- Design a PCB and solder all electronic parts to operate each actuator.
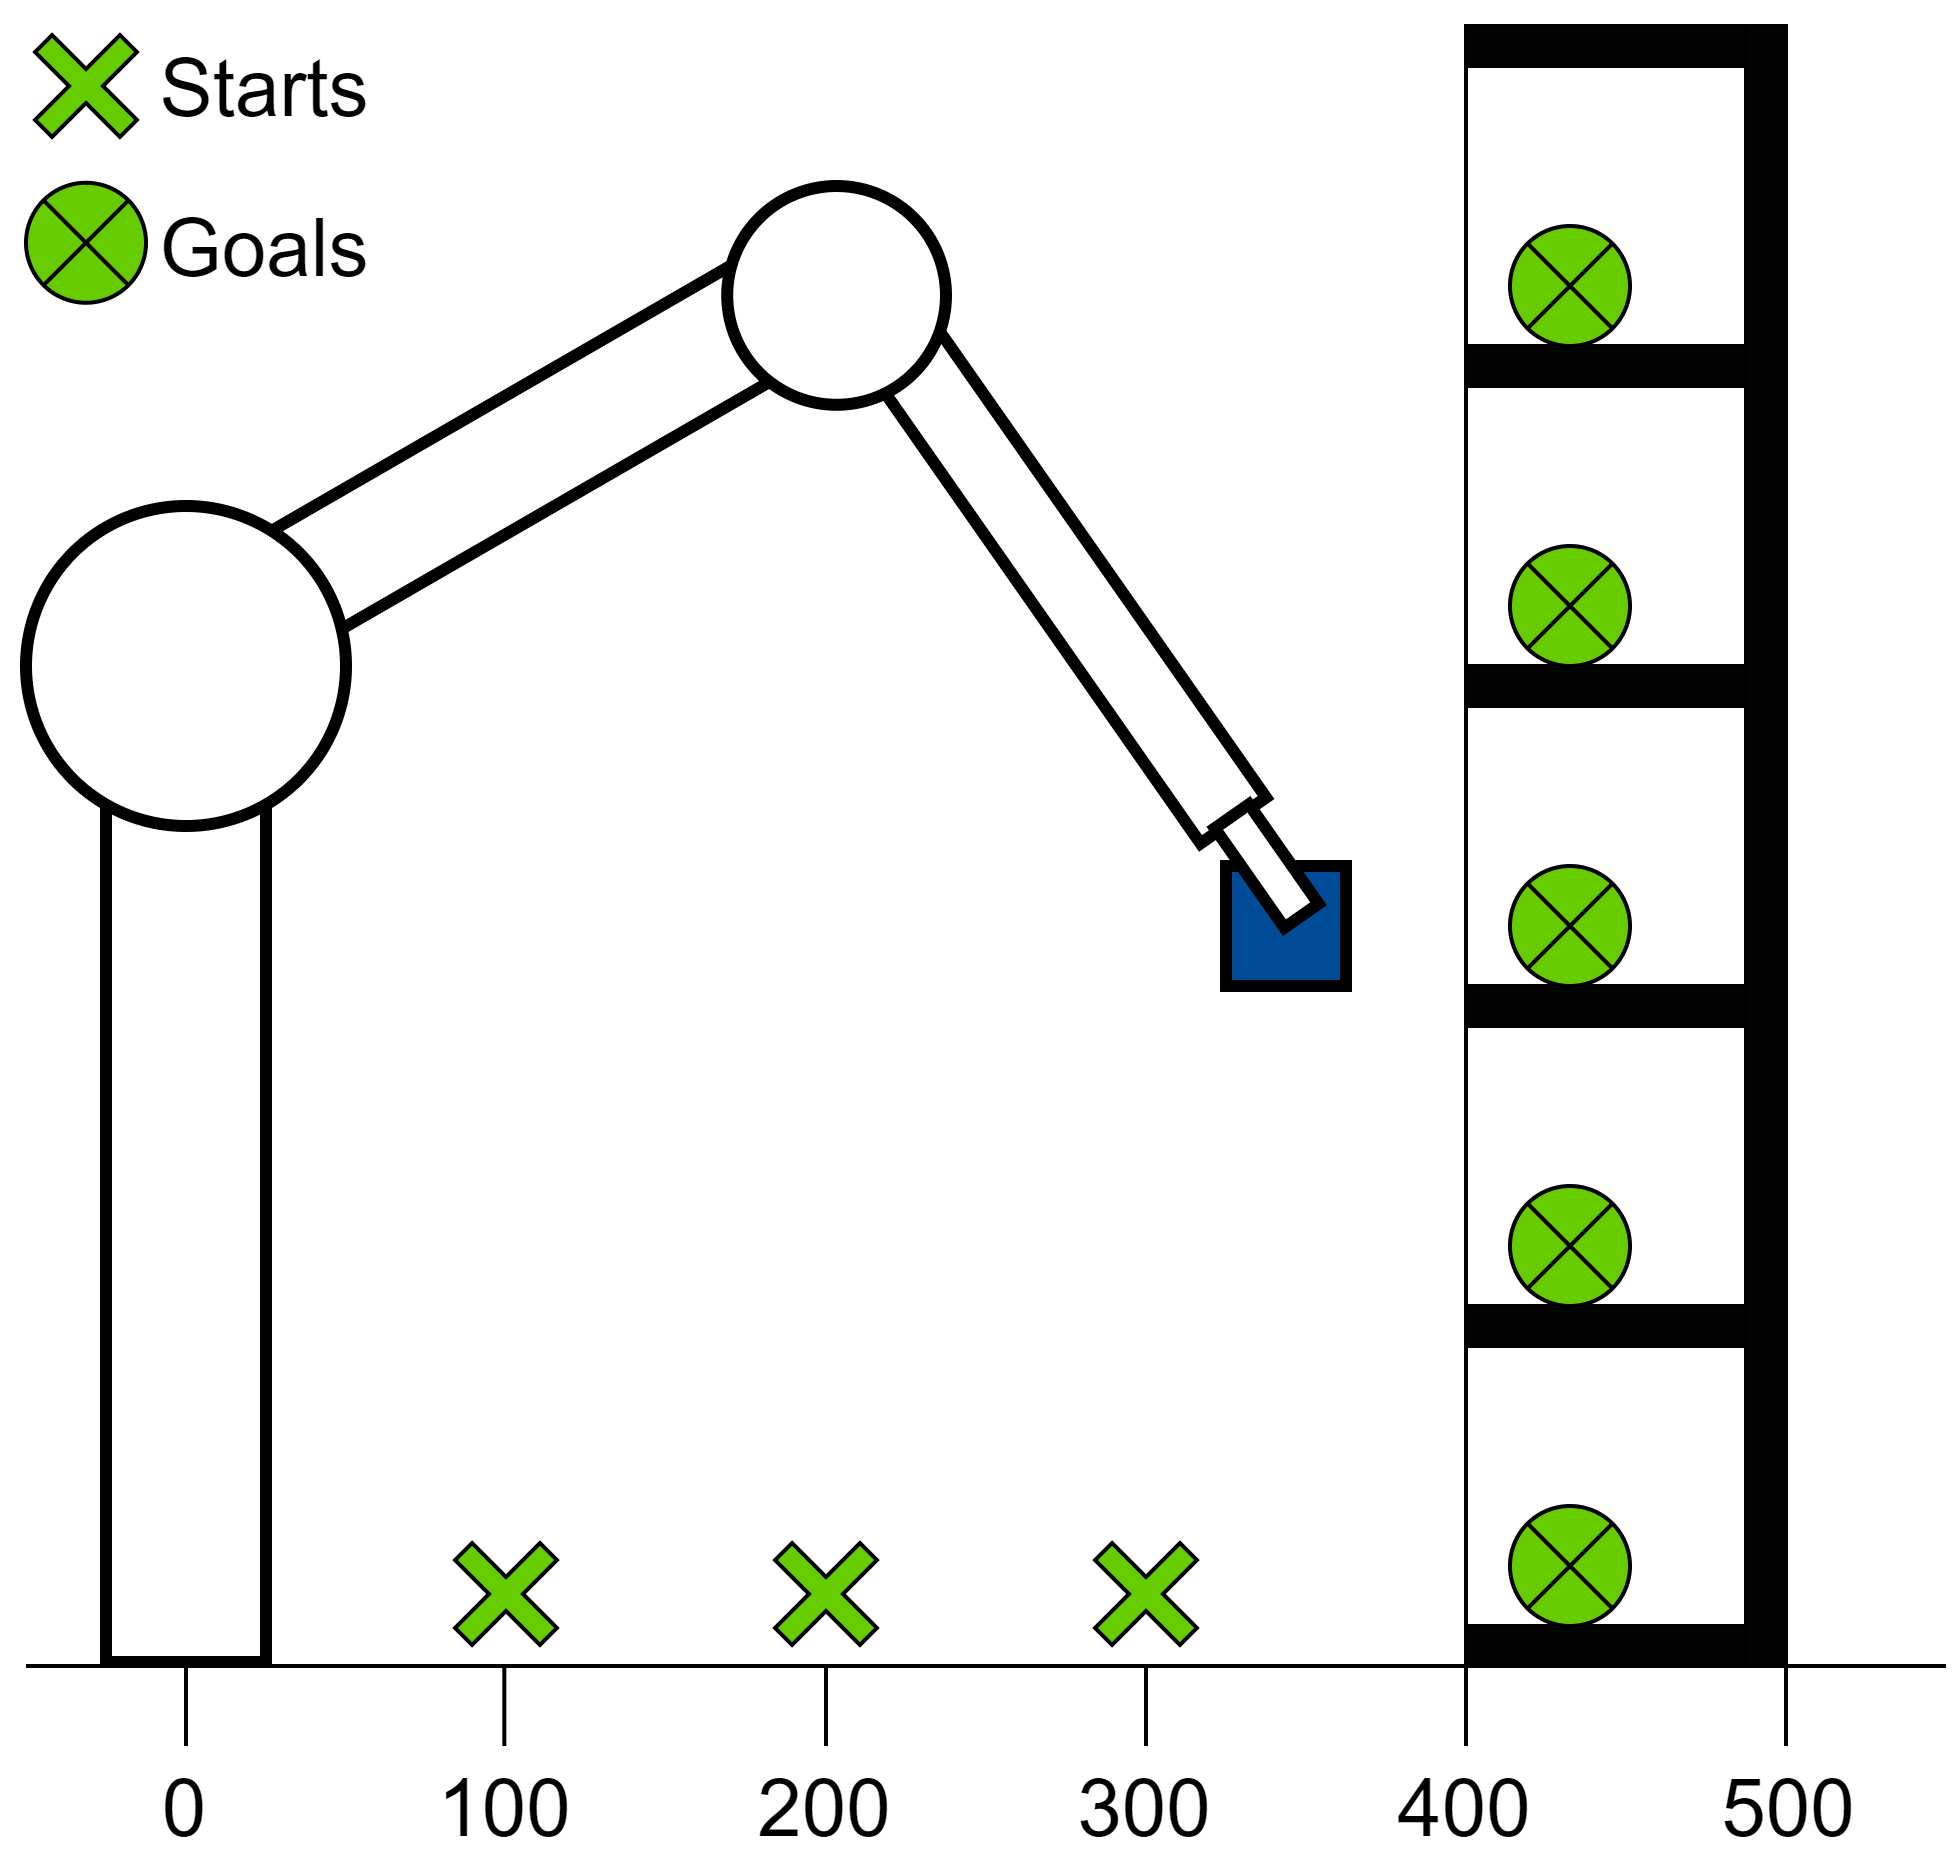
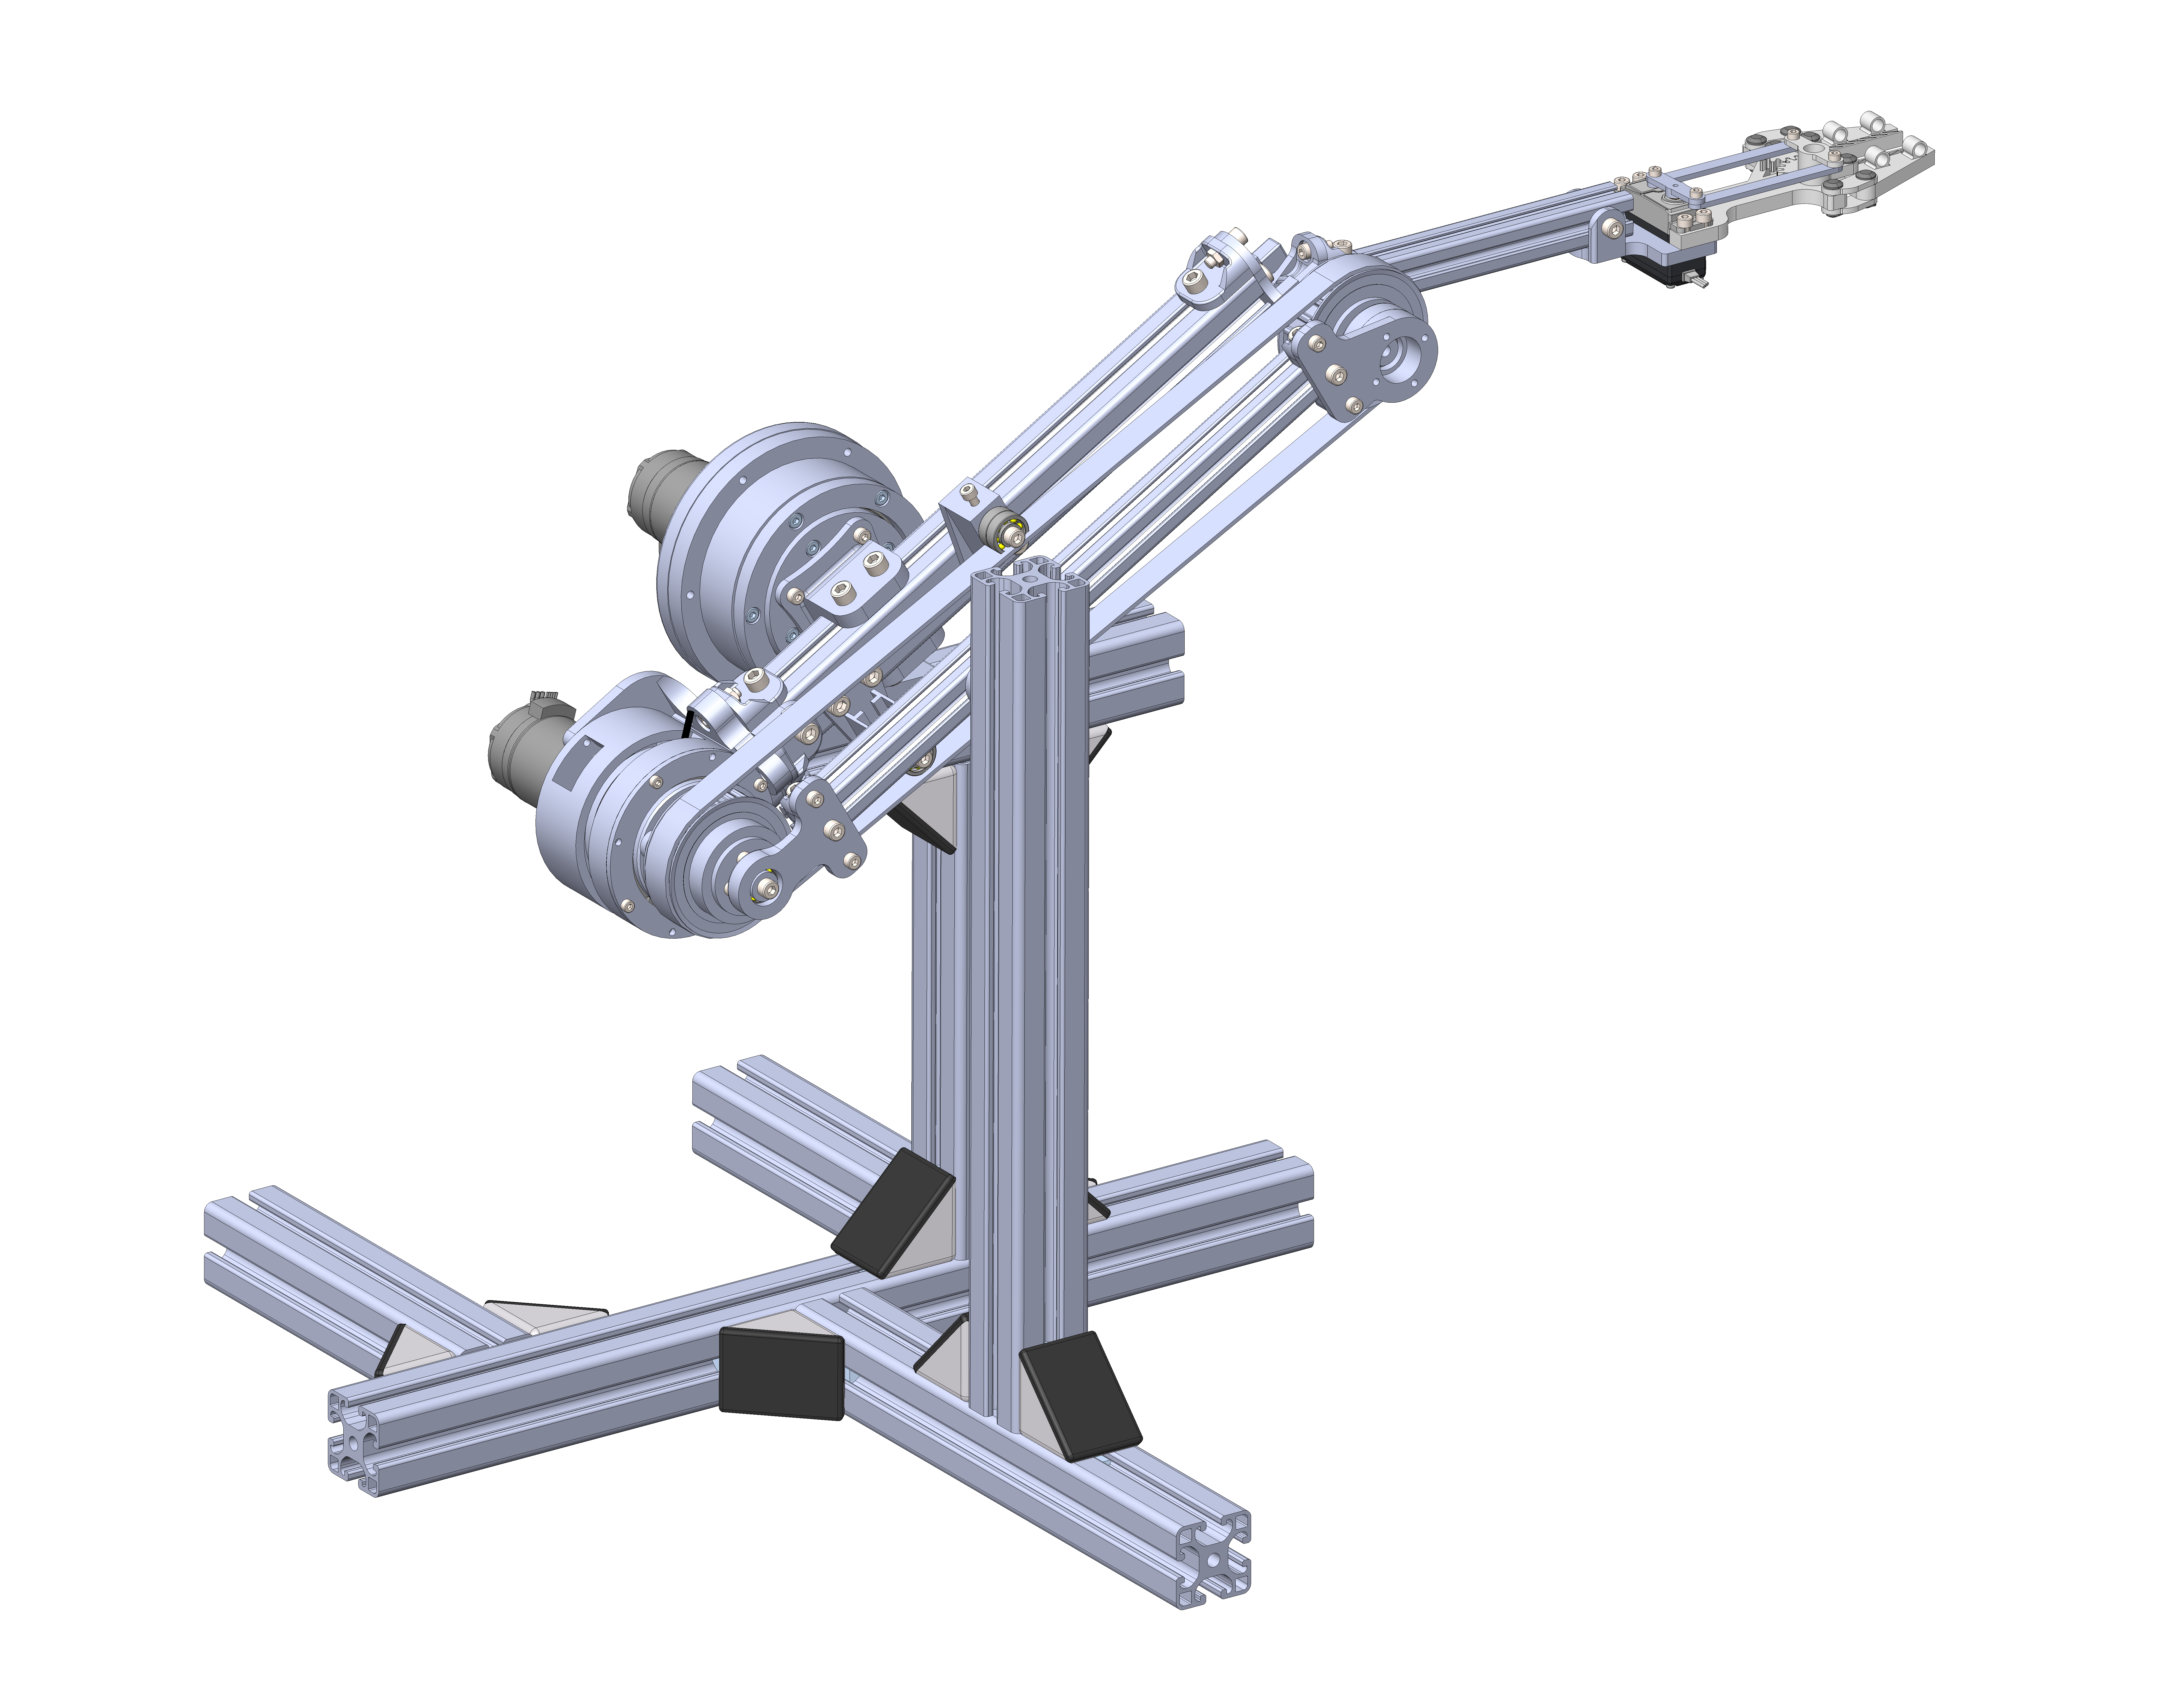
- Design a whole frame to build a 2DoF manipulator with gripper.
- Using protocol EtherCAT to operate the manipulator with simulink.
- Move an object using a motion planning algorithm(RTT).
Actuators and PCBs
flowchart LR
A(Joint Design):::white--> B(Configurations):::white
B --> C(Task Space simulation):::white
C --> D(Dynamic simulation):::white
D --> E{Joint torque acceptable?}:::white
E --> |No| B
E --> |Yes| F(CAD Design):::white
classDef white fill: #fff, stroke: #000, stroke-width: 2.5px

Gripper and Robot
Result Video
Leave a Comment
Your email address will not be published. Required fields are marked *